A practical, design-forward guide for homeowners in Livermore, Dublin, Pleasanton and nearby East Bay communities—materials, styles, local climate notes, and installation must‑knows.
Why Custom Garage Doors Make Sense in the East Bay
Architecture-first curb appeal
From Pleasanton’s contemporary rebuilds to Livermore’s wine-country craftsman homes, a custom door lets you match lines, colors and textures—so the garage reads as part of the façade and not an afterthought.
- Profile and panel patterns align with trim and windows
- Custom lites (glass layouts) to echo front door geometry
- Color-matched paints and stains for cohesive elevation
Function for Bay Area living
Microclimates, wildfire smoke days, and heat spikes push doors and hardware hard. Custom specs help your system run quiet, insulated, and safe.
- Insulated cores to stabilize garage temperatures
- Weather seals that cut dust and smoke intrusion
- High-cycle springs sized for heavier custom builds
Design Trends We’re Installing Across the East Bay
These styles balance modern lines with practical engineering. We see them performing well in Dublin, Pleasanton, San Ramon, and nearby neighborhoods.
1) Full-View Glass & Aluminum
Clean frames with frosted or tinted glass for privacy. Great for modern remodels and ADU-friendly properties where daylight matters.
- Choose low‑E glass to reduce heat gain
- Powder-coated frames in dark bronze or black
- Pair with quiet belt-drive openers to limit vibration
2) Modern Carriage (Transitional)
Carriage styling with slimmer rails and cleaner windows. Works nicely on upgraded ranch and craftsman homes common in Pleasanton.
- Hidden strapping for a subtle carriage look
- Horizontal lites for a contemporary twist
- Engineered wood or steel with overlays for durability
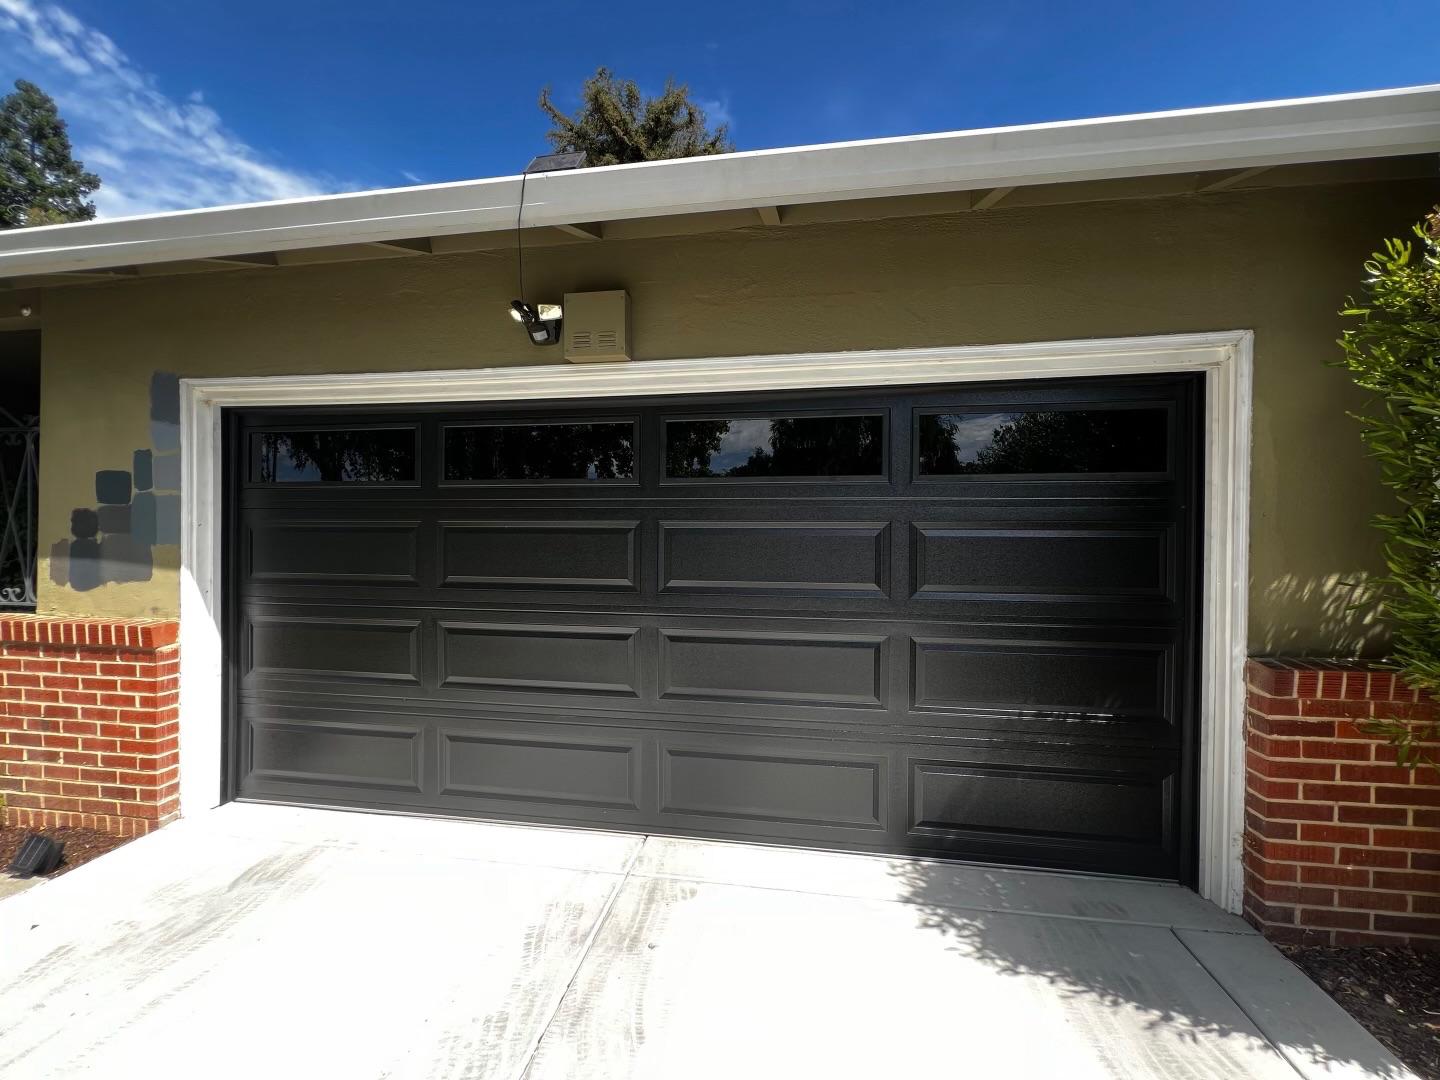
3) Flush Steel with Micro‑Rib Texture
A minimal, flat-panel steel door with subtle ribbing to catch light and hide dust. Often chosen for Dublin’s newer builds.
- Insulated polyurethane cores for quiet operation
- Color options from warm whites to deep navy
- Excellent value vs. custom wood
4) Warm Wood Tones (Real or Faux)
Walnut or cedar tones give depth without overpowering modern façades. Faux finishes on steel reduce maintenance but keep the look.
- UV-resistant topcoats to prevent fading
- Faux wood steel for HOA‑friendly durability
- Custom window grilles echoing entry door
Custom Door Materials: Side‑by‑Side Comparison
| Material | Best for | Insulation | Maintenance | Design Flexibility | Notes |
|---|---|---|---|---|---|
| Steel (Insulated) | Busy households; quiet operation | High (polyurethane cores) | Low | Good (flush, micro‑rib, carriage overlays) | Strong value; wide color/finish options |
| Glass & Aluminum | Modern architecture; daylight | Moderate (depends on glass) | Low | High (frame colors, lite patterns) | Use low‑E/tinted glass to manage heat |
| Wood (Cedar, Mahogany) | Luxury, bespoke textures | Medium (can be insulated cores) | Higher (regular sealing) | Very high (profiles, inlays, stains) | Stunning but needs disciplined upkeep |
| Composite / Faux Wood Steel | Wood look without heavy upkeep | High | Low | High (convincing textures) | Great for HOAs; weather‑resilient |
Glass & Aluminum: Privacy, Glare, and Heat Control
Full‑view doors shine in modern East Bay projects, but glass choice matters. Frosted or satin glass softens views without going opaque. Low‑E coatings and tints limit heat gain during summer spikes, especially on west‑facing drives in Dublin and Pleasanton.
- Privacy first: Frosted, satin, or reeded glass protect interiors while keeping daylight.
- Thermal control: Low‑E, gray/bronze tints, and thermally broken frames minimize heat transfer.
- Glare management: Horizontal lite patterns reduce direct glare into living spaces.
Pro note
For homes near busy streets, consider laminated glass: it dampens sound and adds a security layer.
Ask your installer about weight adjustments: glass panels can require stronger springs and careful balancing.
Custom Wood Doors: Beauty That Lasts (with Proper Sealing)
Wood delivers unmatched depth and character but needs a maintenance routine, particularly with sun exposure common on Pleasanton cul‑de‑sacs and wind in Livermore.
Build choices
- Cedar/Mahogany skins on insulated cores for stability and quieter operation
- True stile‑and‑rail for high‑end joinery and repairability
- Custom grilles that mirror front door mullions
Finish & care
- UV‑resistant marine‑grade topcoats (recoat every 18–24 months)
- Seal all edges (top/bottom) to prevent moisture ingress
- Consider light‑tone stains to limit heat absorption
Insulated Steel: Quiet Strength for Daily Use
For families running multiple cycles daily, insulated steel is the sweet spot of cost, silence, and design range. Polyurethane cores add stiffness and reduce vibration—especially helpful with bedrooms above the garage.
Why homeowners pick it
- Strong dent resistance vs. aluminum
- Excellent thermal performance
- Wide finish catalog (solid colors, wood‑look)
Good pairings
- Belt‑drive openers for low noise
- High‑cycle torsion springs for longevity
- Perimeter weather seals to block dust
Style tips
- Micro‑rib texture hides smudges
- Horizontal lites for modern façades
- Match trim color for a calm elevation
Hardware, Glass Lites & Smart Features That Elevate the Door
Architectural details
- Lite patterns: Horizontal bands read modern; vertical stacks feel more craftsman.
- Trim & rails: Narrow stiles lean contemporary; thicker stiles are classic carriage.
- Hardware: Minimalist handles vs. decorative strap hinges per HOA allowances.
Smart & safety
- Wi‑Fi openers (app, alerts, guest access)
- Battery backup (California‑friendly resilience)
- Integrated cameras and motion lighting
East Bay Installation Tips (From Site Visit to Final Balance)
On‑site consult
Measure rough opening, check headroom/sideroom, note slope and sun exposure. Discuss HOA style parameters.
Design submittal
Confirm panel profile, lites, finishes. For glass doors, specify privacy/low‑E options and frame color.
Prep & removal
Remove existing door, inspect framing, replace worn tracks/rollers, prep for new spring sizing.
Install & balance
Mount sections, set torsion/extension springs, align tracks, set opener limits, test auto‑reverse.
Sizing & Measurement Checklist (So the Door Fits Right)
- Width & height of finished opening (tight to framing)
- Headroom (top of opening to ceiling/obstructions) for spring/opener clearance
- Sideroom both sides for track and brackets
- Backroom (opening to rear wall) for door travel and opener rail
- Floor slope—important for bottom seal contact
- Wind exposure (open hills vs. sheltered cul‑de‑sac)
Common adjustments
- Low headroom kits when beams or ducting interfere
- High‑lift track for tall garages or car lifts
- Tapered bottom seals for sloped driveways
Microclimate Considerations: Livermore, Dublin & Pleasanton
Livermore
- Hotter summer highs → prioritize insulated cores
- Dust on windier days → robust perimeter weather seals
- Wood doors: plan recoat cycles proactively
Dublin
- Afternoon sun glare → tinted/frosted lites
- Newer tracts → modern flush or micro‑rib steel looks clean
- Battery backup helpful for outage resiliency
Pleasanton
- Mixed shade patterns → low‑E glass balances light/heat
- Craftsman & ranch styles → transitional carriage overlays
- HOA approvals: keep finish chips and elevations
Related Service Guides
Care & Maintenance for Custom Doors
Quarterly quick checks (5–10 minutes)
- Wipe down tracks and clean photo‑eyes
- Light lubrication on rollers/hinges (garage‑approved)
- Verify weather seal contact along the slab
- Test auto‑reverse with a 2×4
Annual wellness items
- Opener force/limit calibration
- Spring balance test (door should hold mid‑travel)
- Re‑seal wood finishes; inspect faux‑wood topcoats
- Replace worn bottom seals and side weatherstrips
If you notice the door feeling heavy, uneven, or noisy, pause use and schedule a professional inspection—heavy custom doors can stress openers fast.
Next Steps for East Bay Custom Garage Doors
- Collect inspiration: Snap photos of neighboring styles you like, note window patterns and trim colors.
- Decide on material path: Glass/aluminum for modern light, steel for quiet durability, or wood for richness.
- Think privacy & climate: Choose glass type/insulation levels based on orientation and heat exposure.
- Plan for HOA: Keep elevations, finish names, and glass specs in a short submittal packet.
When your design is set, the installation flow is straightforward: confirm specs, schedule removal and install, then balance and test safety systems for a smooth day‑one experience.